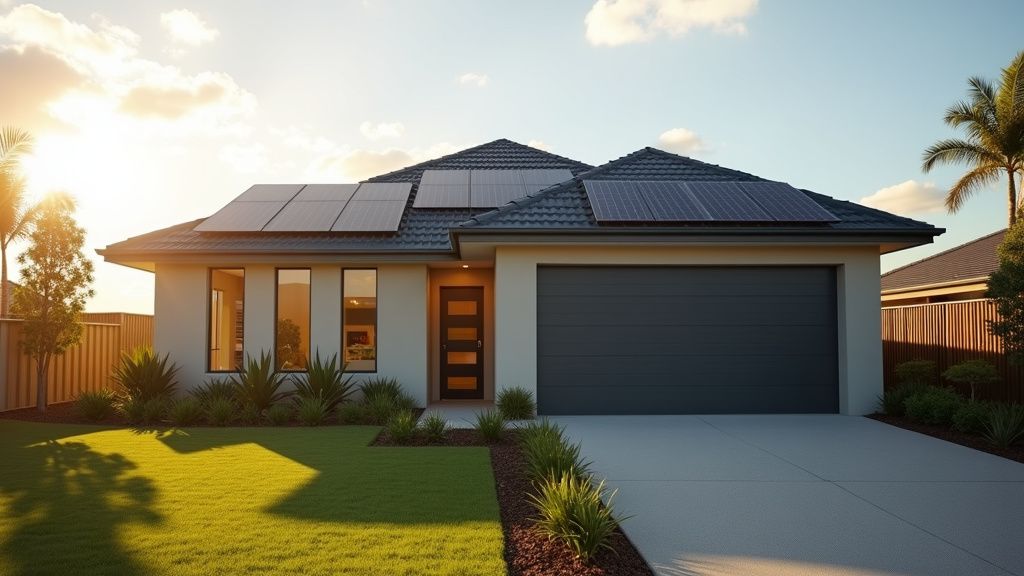
SolarInsights: Your Step-by-Step Guide to Solar Installation Day in Australia
So, you've made the leap and decided to harness the power of the Aussie sun! Congratulations! Getting solar panels installed is a fantastic step towards a greener future and lower electricity bills. But what actually happens on installation day? It can feel like a bit of a mystery. This guide will walk you through what to expect, ensuring a smooth and successful experience.
Before the Big Day: Preparation is Key
The groundwork for a seamless installation begins well before the team arrives. Ideally, your installer will have already visited your property to assess the roof, discuss inverter placement, identify any potential access issues (parking, trees etc.) and confirm the system design. This pre-installation site visit is crucial to avoid any nasty surprises on the day.
Leading up to the day, your solar panels and other components like the inverter and mounting hardware, will be delivered. This sometimes happens a day or two beforehand. Now is a good time to make sure you will be available on install day to oversee the work.
Installation Day: A Step-by-Step Breakdown
Okay, the day has arrived! Here's what you can typically expect:
1. Arrival and Accreditation Check:
The installation crew will arrive, ready to get started. The very first thing you should do is verify the accreditation of at least one installer on the team. In Australia, it’s crucial that a Solar Accreditation Australia accredited installer is present on-site throughout the process. They should have a digital identification card to prove their accreditation. Don't hesitate to ask to see it! It's also advisable to check their electrical contractor license. This ensures they have the necessary qualifications to perform the work safely and compliantly. Remember, accreditation applies to the person, not just the company they work for.
2. Safety First:
Safety is paramount. The installation team will set up temporary safety railings and other necessary safety equipment to ensure a secure working environment on your roof. This is crucial, and you might find the setting up of such equipment takes a good portion of the first morning.
3. Mounting the Rails:
Next, the team will begin fixing metal rails to your roof. These rails act as the foundation for your solar panels. If you have a tiled roof, be aware that the installers may need to carefully cut or grind tiles to ensure a proper fit around the mounting brackets and prevent leaks. It's a good idea to ask your installer beforehand if they require any spare tiles, just in case of accidental damage.
4. Panel Installation:


With the rails securely in place, the solar panels themselves will be carefully mounted and secured to the rails. This process involves connecting the panels and ensuring they are properly aligned.
5. Inverter Installation and Wiring:
The inverter, the heart of your solar system, will be installed, typically on an external wall or within the garage. The panels will be wired to the inverter, which converts the DC electricity generated by the panels into AC electricity that can be used in your home.
6. System Check and Paperwork:
Before everything is finalized, the installer will thoroughly check the entire system to ensure it's functioning correctly. This includes testing the connections, verifying voltage levels, and commissioning the system. They will then provide you with the necessary paperwork, including warranty information, system specifications, and instructions on how to operate the system. The installer should also show you that the system installed matches what you agreed to.
7. System Monitoring and Wi-Fi Connection:
Many modern solar systems come with a monitoring app that allows you to track your energy production, consumption, and savings. The installer will connect the inverter to your Wi-Fi network and show you how to access and use the monitoring app. Have your Wi-Fi password ready!
8. Final Walkthrough and Explanation:
The installer should walk you through the entire system, explaining how it works, how to monitor its performance, and what to do if you encounter any issues. Don't hesitate to ask questions!
Important Considerations:
-
Weather: Rain can definitely impact installation. A wet roof is slippery and electricity and water are a dangerous combination. While some jobs can proceed in light rain, heavy or persistent rain will likely cause delays. You shouldn't be charged extra for rescheduling due to inclement weather.
-
Timing: Installation time can vary depending on the size of your system and the complexity of the installation. Generally, expect it to take anywhere from 1 to 3 days.
-
System Activation: Even after the physical installation is complete, your system might not be immediately switched on. There are often further steps involved with grid connection and approvals before you can start enjoying your solar power.
-
Communication: Good communication is key. Your installer or solar retailer should keep you informed throughout the entire process, from scheduling to completion. Don't be afraid to ask questions and raise any concerns you may have.
By understanding what to expect on installation day, you can be prepared and ensure a smooth transition to solar power. Happy solar-ing, Australia!