Solar Installation Made Easy: The 7-Step Guide for Australians
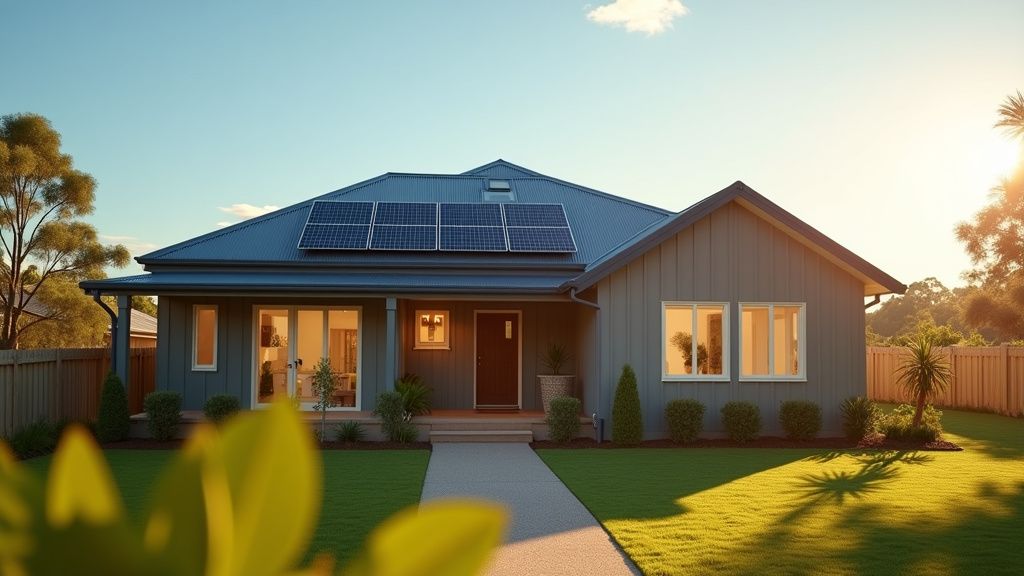
Thinking about going solar? Congratulations! You're about to join the thousands of Aussies who are slashing their electricity bills and embracing clean energy. But the process can seem daunting. Don't worry, this step-by-step guide will break down solar installation, making it easy to understand and navigate.
1. Assess Your Energy Needs and Roof Suitability
Before diving into solar panels, it's crucial to understand your energy consumption. Review your past electricity bills to determine your average daily or monthly usage. This will help you estimate the size of the solar system you'll need.
Next, evaluate your roof. Consider these factors:
- Orientation: North-facing roofs generally receive the most sunlight in Australia, maximizing energy production. East and west-facing roofs can also be viable options.
- Tilt: The optimal tilt angle depends on your location. A solar installer can advise on the best angle for your roof.
- Shading: Trees, buildings, or other obstructions can cast shadows on your panels, reducing their efficiency. Note any potential shading issues.
- Roof Material and Condition: Ensure your roof is structurally sound and suitable for supporting solar panels. Different roofing materials (tile, metal, etc.) may require specific mounting systems.
2. Research Available Incentives and Rebates
The Australian government, along with some state and territory governments, offers incentives to reduce the upfront cost of solar installations. These incentives can significantly lower the overall expense.
- Small-scale Technology Certificates (STCs): This is a federal government scheme that provides a discount on the purchase price of your solar system. The number of STCs you receive depends on the size of your system and your location.
- State and Territory Rebates: Some states and territories offer additional rebates for solar installations, particularly for households or businesses meeting specific criteria. Check your local government's website for current offerings.
3. Obtain Multiple Quotes from Reputable Installers
Getting multiple quotes is essential for comparing prices, system options, and installer experience. Aim for at least three quotes from Clean Energy Council (CEC) accredited installers.
When requesting quotes, provide the installers with detailed information about your energy usage, roof specifications, and any specific requirements you may have. A good installer should conduct a thorough site assessment before providing a quote.

4. Carefully Evaluate the Quotes
Don't just focus on the bottom-line price. Compare the following factors:
- System Components: Panel brand and model, inverter brand and model, and mounting system. Research the quality and warranties of each component.
- System Size: Ensure the system size is appropriate for your energy needs and roof space.
- Warranty: Check the warranties offered on the panels, inverter, and installation workmanship.
- Installer Accreditation and Experience: Verify that the installer is CEC accredited and has a proven track record.
- Payment Terms: Understand the payment schedule and any financing options available.
- Estimated Energy Production: Ask for an estimate of the system's annual energy production, taking into account your location and roof orientation.
5. Choose the Right Installer and System
Based on your evaluation, select the installer and system that best meet your needs and budget. Don't be afraid to ask questions and clarify any uncertainties before making a decision.
Once you've chosen an installer, review the contract carefully and ensure that all terms and conditions are clearly stated.
6. Installation Process
The installation process typically involves the following steps:
- Permitting: The installer will usually handle the necessary permits and approvals from your local council and electricity distributor.
- System Installation: The installer will mount the panels on your roof, connect them to the inverter, and wire the system to your electrical panel.
- Inspection: After installation, the system will be inspected to ensure it meets safety standards and is properly connected.
- Grid Connection: The installer will work with your electricity distributor to connect your system to the grid.
7. Monitor Your System Performance
Once your system is up and running, monitor its performance to ensure it's generating the expected amount of energy. Most inverters come with monitoring systems that allow you to track your energy production in real-time.
Regularly check your system for any issues, such as shading or panel damage. If you notice any problems, contact your installer for assistance.
Going solar is a smart investment that can save you money on your electricity bills and reduce your carbon footprint. By following these seven steps, you can make the installation process smooth and hassle-free.