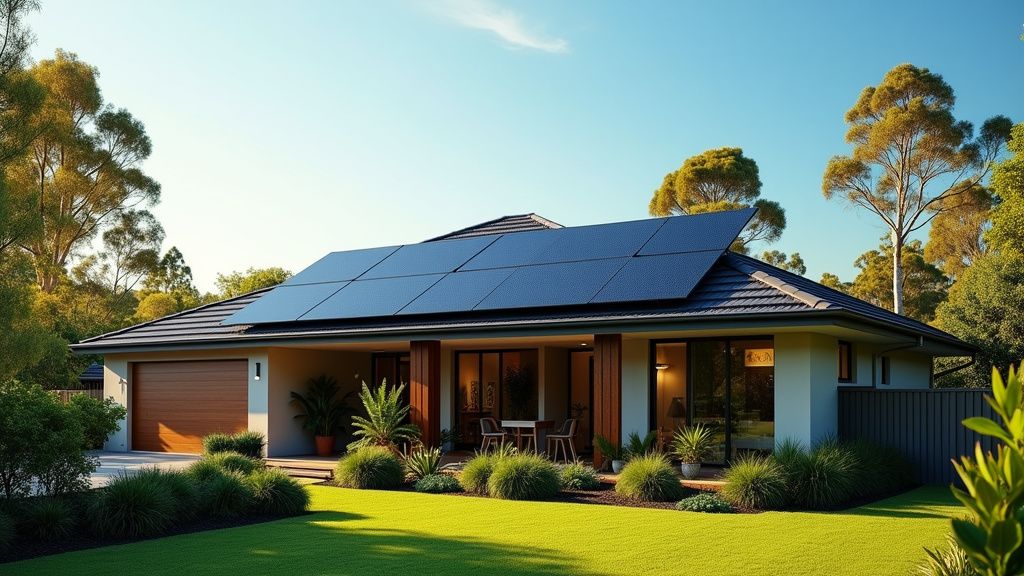
Going Solar? Here's What to Expect on Installation Day
So, you've decided to join the solar revolution and install panels on your roof – excellent choice! Switching to solar power is a fantastic way to reduce your energy bills, shrink your carbon footprint, and increase your home's value. But what actually happens on installation day? It can be a bit daunting if you’re not sure what to expect.
This blog post will guide you through the process, so you're well-prepared for your residential solar installation. For a more in-depth look, be sure to check out our Complete Guide for a detailed, step-by-step overview.
Before the Big Day
Preparation is key for a smooth installation. A good installer should conduct a site visit beforehand. This allows them to assess your roof's condition, check for any potential access issues (like tricky parking or overhanging trees), determine the best location for your inverter, and identify any additional electrical work that might be needed. This proactive approach minimises unexpected hiccups on the day.
Leading up to the installation, expect the delivery of your solar panels, inverter, and other necessary equipment. Sometimes this happens the day before.
On Installation Day: What to Expect
Installation typically takes between one and three days, depending on the size and complexity of your system. Here's a general outline of what will happen:
-
Arrival and Safety Setup: The installation team will arrive, often in the early morning. They will begin by setting up safety railings and other necessary precautions to ensure a safe working environment on your roof.
-
Roof Preparation: This involves fixing metal rails securely to your roof. These rails will act as the foundation for your solar panels. If you have a tiled roof, the installers might need to carefully cut or grind some tiles to accommodate the brackets for the rails. While they’ll aim to minimise damage, it's a good idea to have some spare tiles on hand, just in case.
-
Panel Installation: Once the rails are in place, the solar panels are carefully mounted and secured. The installers will connect the panels to each other, ensuring proper wiring and alignment.
-
Inverter Installation: The inverter, which converts the DC electricity generated by your panels into usable AC electricity for your home, will be installed, usually on an external wall, or in the garage.


-
Electrical Work: This involves connecting the inverter to your switchboard and ensuring that your system is properly integrated with your home's electrical grid.
-
Accreditation Checks: It's crucial to ensure that at least one installer on-site holds valid accreditation from Solar Accreditation Australia. This accreditation verifies their competence and ensures the installation meets Australian standards. Don't hesitate to ask to see their digital identification card and confirm their electrical contractor license. Remember, the accreditation applies to the individual, not just the company. The accredited installer needs to be present for key stages: setup, mid-installation checks, and testing/commissioning. Ideally, they should be there for the entire process.
-
System Check and Commissioning: Once the installation is complete, the accredited installer will thoroughly test the system to ensure it's functioning correctly. They will also commission the system, which involves configuring it to operate optimally with your home's electricity supply. Note that system switch-on may occur at a later date.
-
Paperwork and Handover: Before the installers leave, they will provide you with all the necessary paperwork, including warranty information and system specifications. They should also explain how to operate and monitor your system, including how to use any monitoring apps. Having your Wi-Fi password handy will allow them to connect the inverter to your network, enabling you to track your system's performance.
Things to Keep in Mind
- Weather: Installation is weather-dependent. While some tasks can be done in light rain, heavy or continuous rain will likely cause delays. You shouldn’t be charged extra if the installation needs to be rescheduled due to weather.
- Communication is Key: A reputable installer will keep you informed throughout the entire process, from initial consultation to final commissioning. If there are any delays or unexpected issues, they should communicate them to you promptly and clearly.
- Your Presence: Consider being home during the installation, allowing you to observe the progress, ask questions, and ensure everything aligns with your expectations.
- Pre-Installation Check: Before any panels are placed on the roof, request that the installer show you that the equipment matches what was agreed upon in your contract.
Post-Installation
Installation is just one step. There's still a process to get your system connected to the grid, which may involve paperwork and approvals from your electricity provider. Your installer should guide you through this process.
By understanding what to expect during your residential solar installation, you can ensure a smooth and successful transition to clean, affordable solar energy. Embrace the change, and enjoy the benefits of generating your own power!