Decoding Your Rooftop Revolution: A Step-by-Step Guide to Understanding Your Solar Installation
So, you've joined the solar revolution! Congratulations on taking the plunge and harnessing the power of the Aussie sun. But now that those shiny panels are glinting on your roof, do you truly understand what's going on up there? Don't worry, you're not alone. Many Australians find themselves a little bewildered by the technology powering their homes. This blog post is your step-by-step guide to demystifying your solar installation and ensuring you're getting the most out of your investment.
Before we dive in, if you're still in the quoting stage, take a read of our Complete Guide for a deeper dive into what to expect.
Step 1: Understanding the Components of Your System
Your solar system isn't just panels; it's a carefully integrated network of components working together. Here’s a breakdown of the key players:
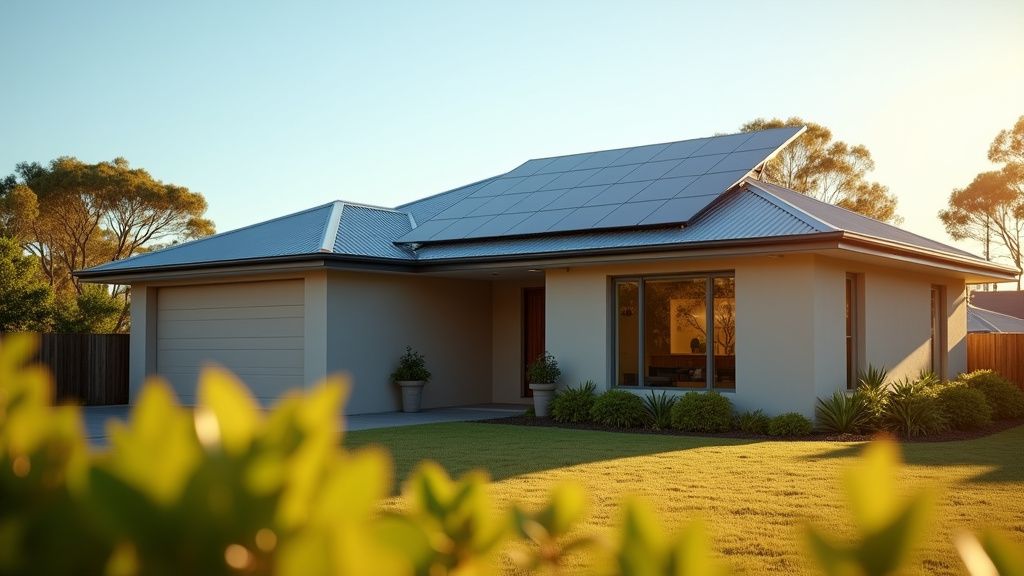
- Solar Panels (Photovoltaic or PV Modules): These are the workhorses, converting sunlight into direct current (DC) electricity. Different types of panels exist (monocrystalline, polycrystalline, thin-film), each with varying efficiency and cost. Your installer should have explained the panel type used in your system and its specifications.
- Inverter: This crucial piece of equipment converts the DC electricity generated by the panels into alternating current (AC) electricity, which is what your home appliances use. Inverters also monitor system performance and provide safety features. There are string inverters (where panels are wired together in series) and microinverters (where each panel has its own inverter). Again, understanding which type you have is key to understanding your system's potential.
- Mounting System: This secures the panels to your roof. It's crucial that this system is robust and properly installed to withstand Australian weather conditions.
- Wiring and Cabling: These carry the electricity between the panels, inverter, and your home's electrical system.
- Electricity Meter: This measures the electricity you consume from the grid and the excess electricity your solar system exports back to the grid. It might be a standard meter or, increasingly, a smart meter that provides more detailed data.
Step 2: Knowing Your System Size and Expected Output
The size of your solar system is measured in kilowatts (kW). For example, a 6.6kW system is a common size for Australian homes. The system size, combined with factors like your location, roof orientation, and panel efficiency, determines the amount of electricity your system is expected to generate.
Ask your installer for an estimated daily or monthly electricity output for your system. Keep in mind this is an estimate, and actual output will vary depending on weather conditions and time of year. Comparing your actual output (which you can monitor via your inverter's app or online portal) against the estimated output is a good way to assess your system's performance.
Step 3: Monitoring Your System Performance
Most modern inverters come with monitoring systems that allow you to track your system's performance in real-time. This can be accessed via a smartphone app or a web portal.
Through these monitoring systems you can usually view:
- Current Power Output: How much electricity your system is generating at any given moment.
- Daily Energy Production: The total amount of electricity your system has generated for the day.
- Historical Energy Production: Track your system's performance over days, weeks, months, or even years.
- Grid Import/Export: See how much electricity you're drawing from the grid and how much you're exporting.
Regular monitoring allows you to identify any potential issues early on, such as a drop in performance due to shading or a faulty panel.
Step 4: Understanding Feed-in Tariffs
A feed-in tariff (FiT) is the rate your electricity retailer pays you for the excess electricity your solar system exports back to the grid. Feed-in tariffs vary between retailers and can range from a few cents per kilowatt-hour (kWh) to around 12-15 cents/kWh in some states.
Compare feed-in tariff offers from different retailers to ensure you're getting the best deal. Remember that the highest feed-in tariff isn't always the best option; consider your overall electricity usage and whether the retailer offers competitive rates for electricity you consume from the grid.
Step 5: Maintenance and Warranties
Solar panels are relatively low-maintenance, but some basic upkeep can help maximize their performance.
- Cleaning: Periodically cleaning your panels can remove dust, dirt, and bird droppings that can reduce their efficiency. This is especially important in areas with high levels of pollution or dust. Often, rainfall is sufficient, but if you notice a significant drop in performance, consider a gentle clean with a soft brush and water.
- Inspections: Schedule regular professional inspections to check for any issues with the panels, wiring, or mounting system.
- Warranties: Familiarize yourself with the warranties provided by the panel manufacturer, inverter manufacturer, and installer. Typically, panels have a performance warranty (guaranteeing a certain level of output over a specific period) and a product warranty (covering defects in materials and workmanship). Inverters also have warranties. Keep all warranty documents in a safe place.
Step 6: Navigating Resources and Support
The Australian government offers a wealth of information and resources to help consumers understand solar energy. Resources developed with expert support offer unbiased advice on installation, usage, and maintenance. These are excellent places to start if you have any questions or concerns about your solar system.
Understanding your solar installation empowers you to make informed decisions about your energy usage, maximize your savings, and contribute to a more sustainable future. So, take the time to learn about your system, monitor its performance, and don't hesitate to ask questions. Welcome to the world of solar power!